GarageBand, like most DAWs, allows you to use plug-ins from third-party manufacturers in your projects. If you would like to use a third-party plug-in in a GarageBand project, ensure the plug-in is installed on your machine and that an Audio Unit version was included in the installation. Effects plug-ins (such as reverbs or compressors) can be used on both Audio and Instrument tracks, while software instrument plug-ins can only be added to instrument tracks.
For both kinds of tracks, plug-ins can be added by taking the following steps:
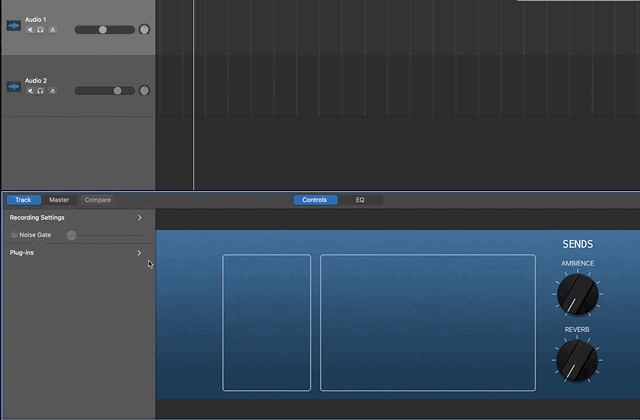
- Select the track you would like to add a plug-in to.
- Navigate to the Plug-ins area of the Smart Controls pane.
- Click an empty plug-in slot.
- Hover over an effect category in the resulting menu.
- Click a plug-in from the Audio Units submenu to instantiate it.
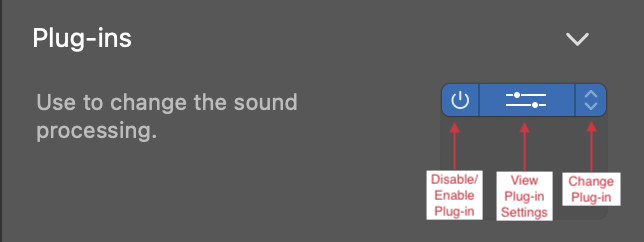
After adding it, the plug-in can be used like any plug-in included in GarageBand. The plug-in can be disabled or enabled using the power button on the left of the plug-in slot, the settings can be viewed using the settings button in the center, and the plug-in can be swapped to different plug-in using the arrow button on the right of the slot.