You will need:
- a Windows/Mac computer
- audio interface
- microphone, if using an acoustic instrument or voice
- any cables required to connect an electronic instrument such as electric guitar, digital piano, or synthesizer
- headphones or studio monitors (headphones required if using a microphone)
- Audacity software (free download)
- backing track for your assignment, downloaded from your course
Setting up Your Audio Device
First, check that Audacity has your input and output settings correctly selected.
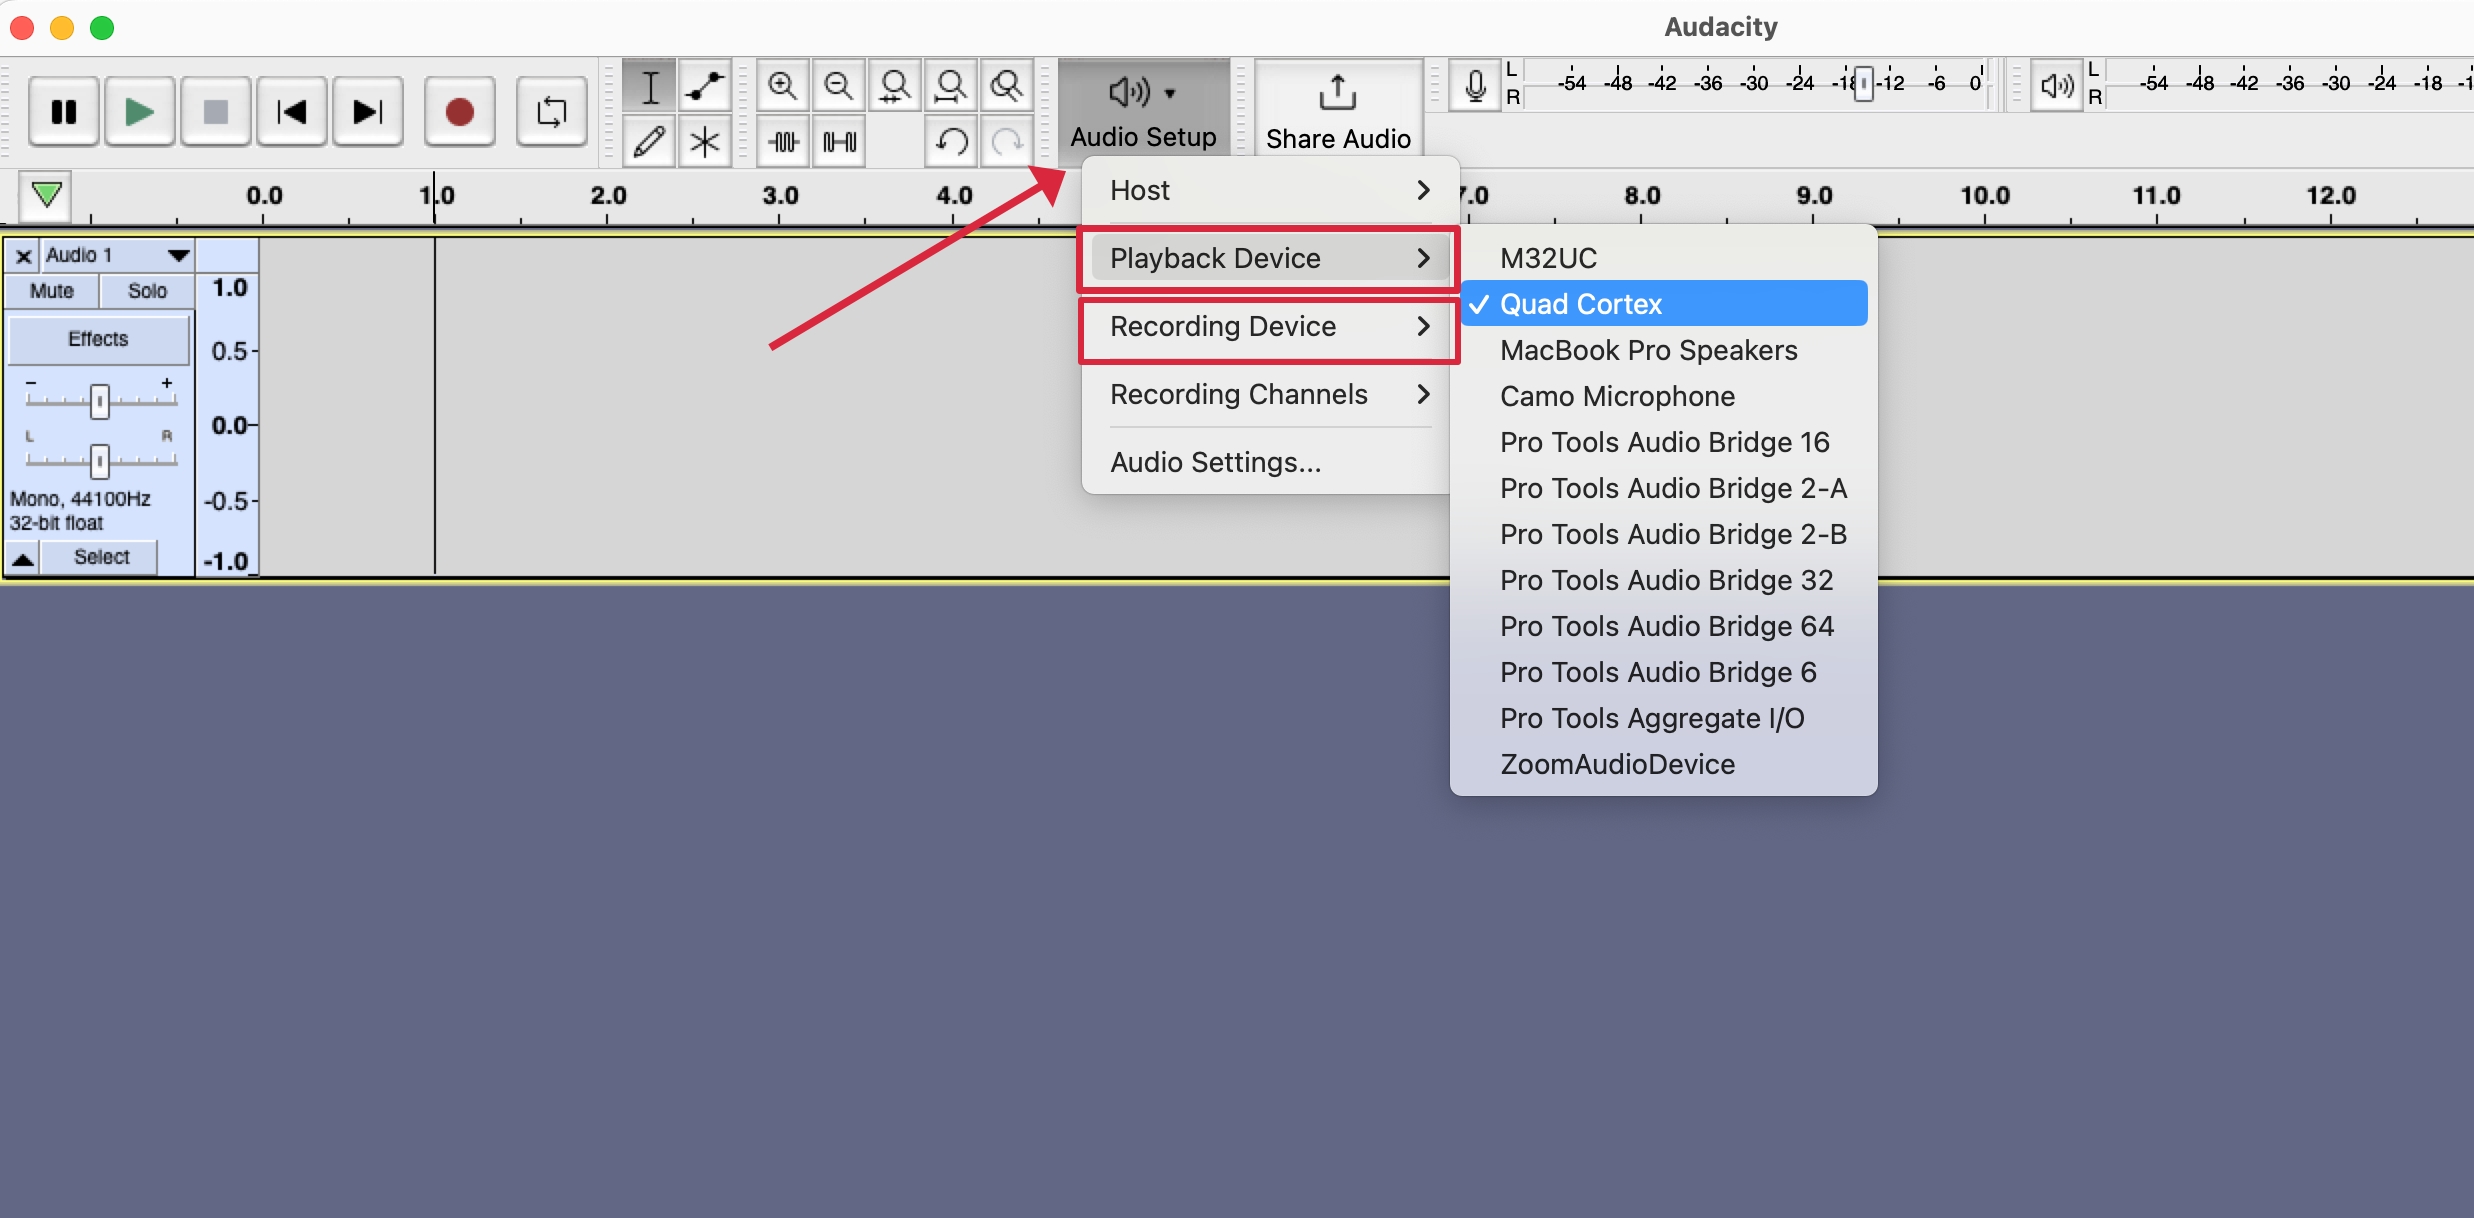
- Click on the Audio Setup button located on the main screen in Audacity.
- Select where you want to hear audio from under Playback Device.
- Select where you want your audio to come into Audacity under Recording Device.
Importing Your Backing Track
Next, you will need to import your backing track into Audacity:
- Open Audacity on your computer.
- Locate the backing tack on your computer, then drag and drop it into the main Audacity window. Alternatively, you can navigate to File > Import > Audio, and then locate the file on your computer.
Checking Audacity's Recording Setup
In order to have Audacity record in the expected way, you may need to check the recording settings; otherwise you may not hear the backing track while recording, or your recording may continually jump to the end of the track. See the section directly below if you need to check these settings.
How to Stop Audacity Jumping to the End of a Track When Recording
How to Stop Audacity Jumping to the End of a Track When Recording
Audacity's default behavior is very linear, in that when you record a track, then go back and try to rerecord a section, it will always assume that you want to record onto the end of your existing audio. There are a few ways around this.
The most simple way to do this is to ensure that you have Mono Recording selected from the Recording Channels dropdown menu. This should be automatically selected if you chose to create a new mono track to record onto (Tracks > Add New > Mono Track).
However, if you're working with a stereo track, the following method may be necessary. First, you can delete all audio on a track that you recorded, which will then add space for Audacity to allow you to record onto the track. However, if you wish to keep the take or track that you recorded, you can also tell Audacity to record onto a new track, or overdub. This will allow you to record multiple tracks of audio, which you can compile afterwards if necessary. If you do opt to use this method, you will want to mute the previously recorded tracks so that you do not hear all the recordings playing at once.
To do this, you can press Shift + R to start a new recording, which will add a new track every time you record. Alternatively, you can change the default behavior to create a new track every time you record by pressing R on it's own:
- Navigate to Audacity > Preferences > Audio on Mac, or
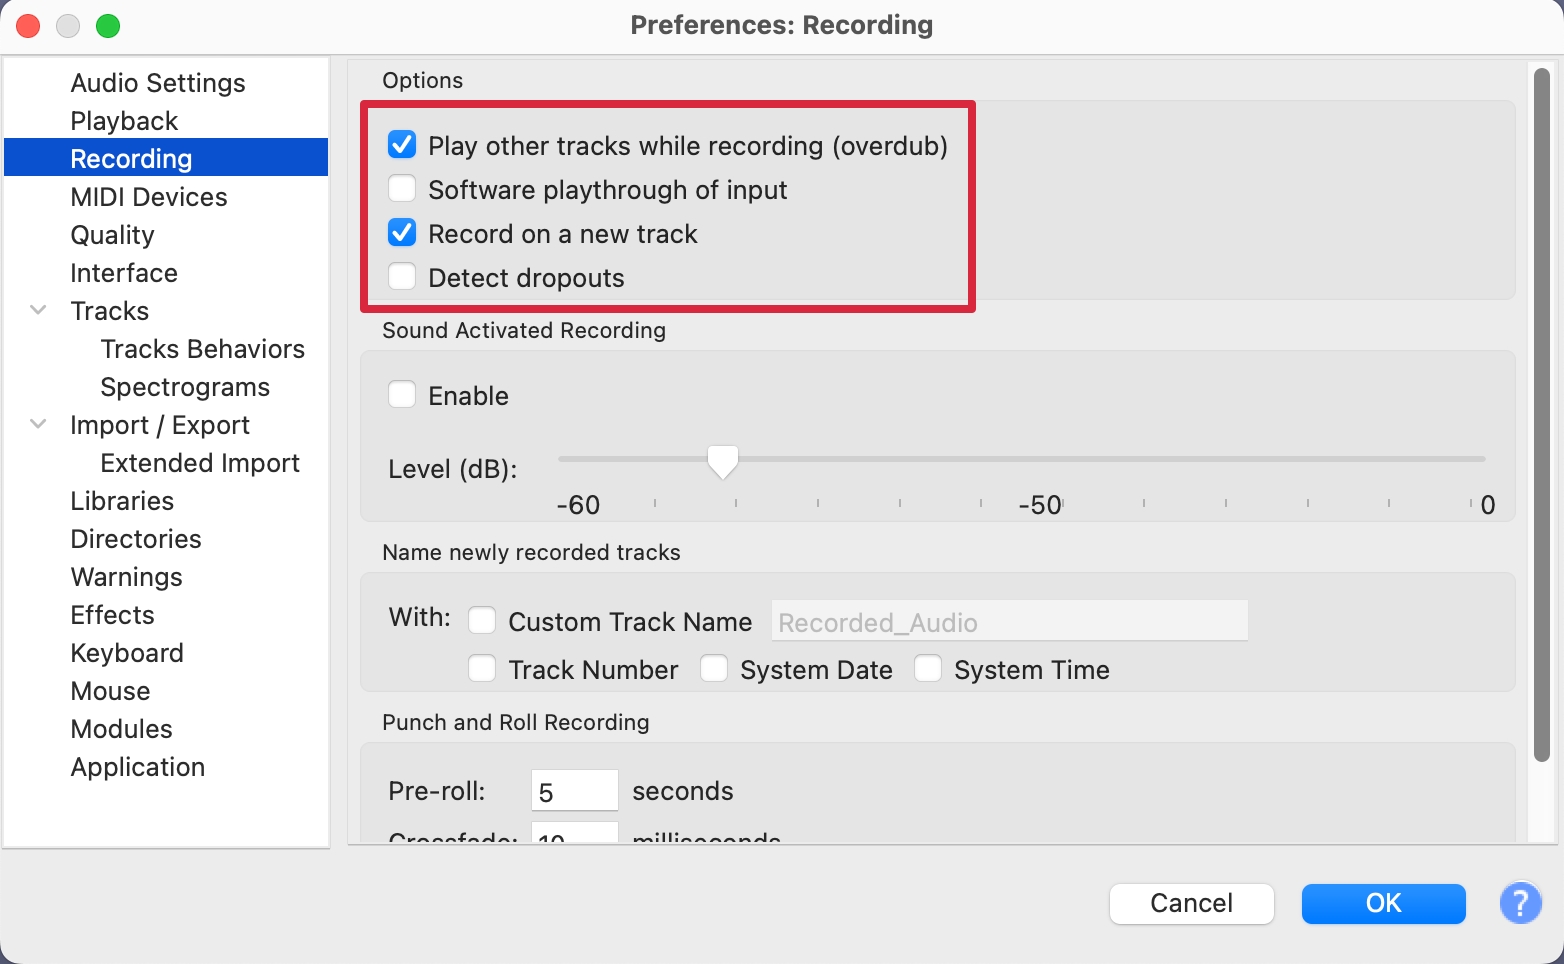
Now when you press the R key to record, Audacity will create a new track each time you do so.
Recording Your Audio
Assuming that your hardware is configured correctly, you can record alongside your backing track by performing one of the following actions:
- Press R on your keyboard.
- Press the red Record icon at the top of the Audacity transport bar.
- From the top menus, select Transport > Recording > Record.
Each of these options will instantly start recording, and you should be able to hear your backing track as you perform. Once you have completed your recording you can press the Space Bar to stop recording, or press the black Stop icon from the transport bar.
If you are unhappy with your recording, move your cursor into the top section of the region and you will see it change to a hand icon. Click to select your region, then use the backspace button to delete.
Alternatively, you can click the X icon on the whole track, as Audacity will simply create a new track each time we record. This is the expected behavior as long as you have set your recording settings as shown in the section above.
Exporting Your Project as an MP3
How to Export an MP3 File from Audacity
Once you have finished a project in Audacity, you may want to export the project as an MP3 file. To do that, take the following steps:
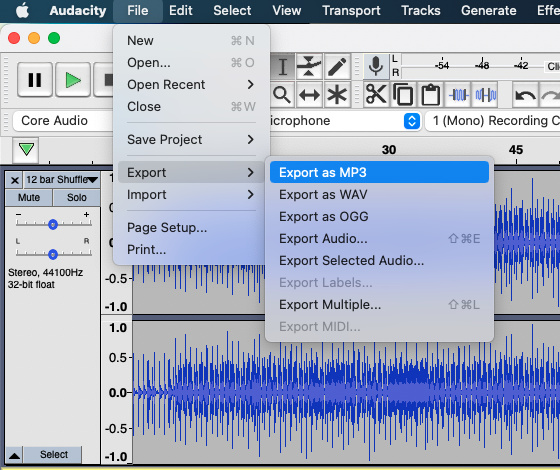
- In the Audacity menu, click File, select Export, and then click Export as MP3.
- In the following window, name the file, select a location to export the file, then click Save.

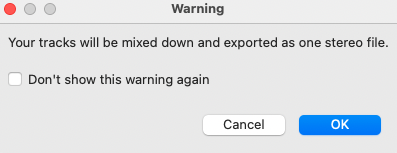
- You may see a warning stating, Your tracks will be mixed down and exported as one stereo file. If you see this warning, click OK, as this is the intended result. In order to avoid this warning in the future, check the box next to Don't show this warning again before clicking OK.
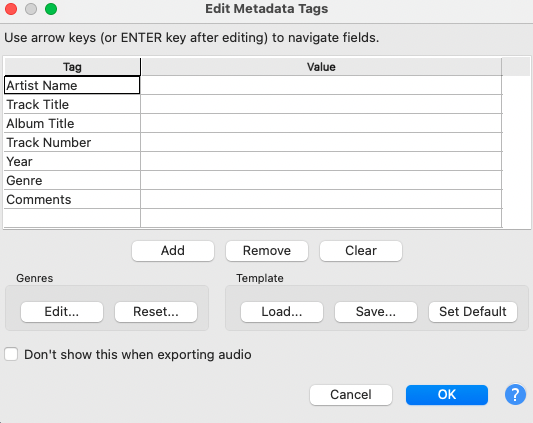
- You may also be prompted to enter or edit metadata tags. You can choose to enter these or not. In order to avoid being prompted to enter metadata tags in the future, check the box next to Don't show this when exporting audio before clicking OK.
- Once the export is complete, you can find the MP3 file by navigating to the location on your machine where you chose to save the file in step 2.
A Note on Latency
Depending on your setup, you may have issues with latency in Audacity. If this is the case, please see this article on how to correct latency in Audacity
