What You Need for Beginner Music Production: Interface, DAW, Monitors, Microphones
The following information on home studio equipment is excerpted from the Berklee Online course Music Production 101, written by Michael Bierylo and David Mash, and currently enrolling.
There is an extraordinary range of affordable tools that make it possible for most musicians to produce their own music at home. The goal of this article—and the Berklee Online course it comes from—is to familiarize you with the basic tools and techniques used in electronic music production.
Since this course is an introduction, we’re assuming that students have no previous experience in music technology. In the course we’ll cover everything you need to know to get your home studio up and running. In this article we’ll cover everything you need to know to get started in that process.
The Role of a Producer
The term “producer” gets used quite a bit, and it can refer to many different roles in the process of producing music. Historically, in the earliest days of recording, the music producer was responsible for much of the business of a recording project, things like booking studio time, arranging for musicians to play on a session, and getting them paid. As music production became more of a creative process, beyond simply recording a song, a producer got involved with everything from choosing the songs and coming up with arrangement ideas to the actual sound of the recording, hopefully helping the artist realize their creative vision.
Read More: Music Production: What Does a Music Producer Do?
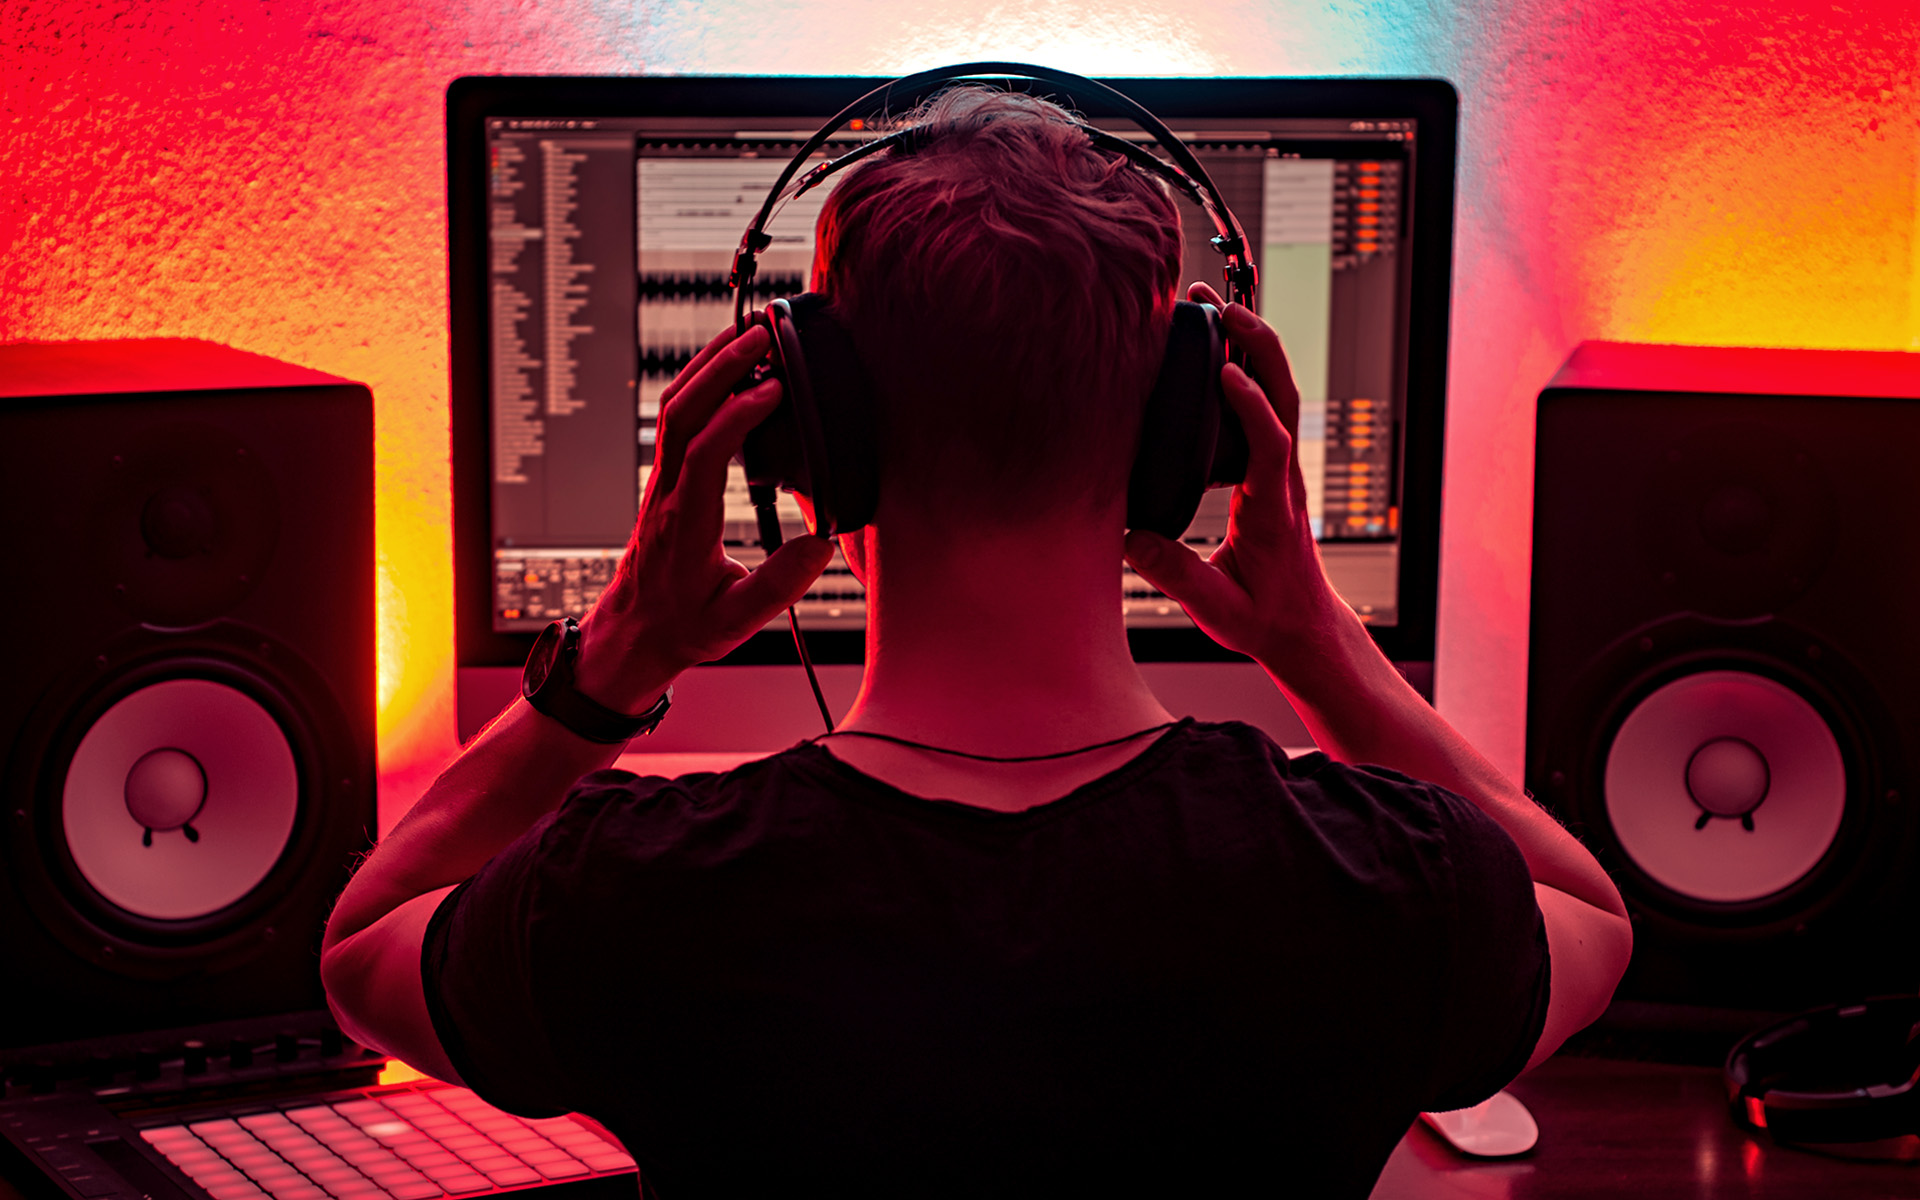
Fast-forward to today, and probably the reason you are reading this article: anyone with a computer, software, a modest assortment of recording equipment and skill can create professional-quality productions. Basically, you are the producer and in the process of producing music you may take on many different roles. Your home studio can become a workshop where you come up with musical ideas, arrange them into a song, record and mix them, and prepare them to be released in a variety of formats. In doing so, you’ll be working on your own as a solo artist, collaborating with others, or working for other artists, helping them realize their creative vision.
Stereo vs. Multitrack Recording
Audio recording is often a key element in a successful production. At one time, the only way to produce music was to record a group of musicians playing, all at the same time. While stereo recording is a great way to capture the spontaneity and energy of a live performance, it doesn’t give us much control over the actual sound of the recording or the ability to edit individual performances. Multitrack recording, where each player is recorded individually, allows the greatest flexibility in producing a piece of music. Although we can make a multitrack recording of a live band, most productions record individual instruments in separate passes, building a recorded arrangement from multiple recordings. Basically, there are advantages to each type of recording. Let’s explore more!
Stereo Recording
Stereo recording is a great way to capture spontaneous musical ideas or document performances. You can learn a lot by recording your band’s rehearsal or gig, but you’re probably not going to want to release those recordings. Likewise, when an idea for a song comes to you, being able to record that initial germ of a musical idea can lead to an inspired song.
Another use for stereo recording is capturing sounds for sampling purposes, not just the sounds of instruments, but also any sounds that can be produced in the world, whether it be in nature, in the city, or anywhere, really. These can be very useful for musical effects, or for crafting very cool beats for loops to use in our productions or even live performances.
One way to record a live performance is to record directly in stereo using a pair of microphones and a recording device. Currently, there are a wide variety of affordable portable recorders that come equipped with a built-in stereo pair of microphones. Here are some examples:

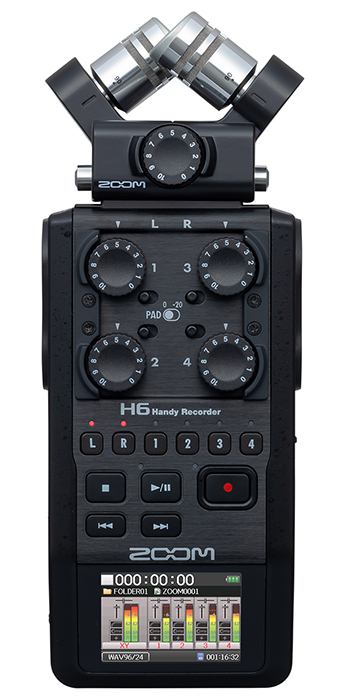
Alternatively, most smartphones and tablets have audio recording software built in, and there are a wide variety of microphones available for use with these devices. This is perhaps the easiest way to record a demo of a song you’ve written or even a band rehearsal. All you need to do is simply set up one of these recorders and perform the song.
Multitrack Recording
Most professional recording is done using multitrack recording, where individual musical performances are recorded on separate tracks. This gives us the flexibility to edit and process the tracks, and to mix them into a final stereo version well after the original performance.
Multitrack recording also allows us to add performances to an original recording. In this way, we’re capturing a performance that interacts with previously recorded performances. The process of adding parts to an existing recording is called overdubbing.
Today, musicians can integrate a stereo recording into a multitrack recording by bringing them into a DAW like Ableton Live, Logic, or Pro Tools, then adding subsequent tracks to further develop the work.
Read: What is the Best DAW (Digital Audio Workstation)?
Asynchronous Collaboration
This way of working has changed the way music is produced. As mentioned earlier, in electronic music production, the self-produced artist often wears more than one hat, in many cases taking on the roles of composer, arranger, and performer. When we use multitrack recording techniques, composing and arranging can be part of an interactive process where one musical idea suggests another.
Just as composers have traditionally used the piano to work out fully formed compositions from fragments of musical ideas, electronic music producers can start with a skeletal idea for a song—perhaps just a drum pattern and bass line—and develop it into a complete musical arrangement.
By breaking down the recording process into individual performances or takes, musicians no longer have to be in the same place at the same time to contribute to a performance. Musicians now commonly collaborate by adding their unique, individual performances to tracks that their collaborators have previously recorded.
Arranging and Recording
In addition, a performer can now record more than one part. Electronic music producers often take on the role of drummer, bass player, keyboard player, and soloist.
In this method of recording, it’s essential that a musician is able to hear what’s been previously recorded by monitoring those tracks with speakers or headphones (the latter is preferable if acoustic parts are being recorded).
In electronic music production, we rely on multitrack recording as our basic model for arranging and recording musical performances.
The various tools we’ll work with in electronic music production offer us several ways to view and edit the performances we’ve recorded. At the end of the recording and editing process, we’re left with a number of finished tracks. Each track will contain an individual musical part of the total sound.
STUDY ELECTRONIC MUSIC PRODUCTION WITH BERKLEE ONLINE
Mixing
To produce a final version of our song we’ll need to combine these individual elements in a process called mixing. The audio output of all the tracks we’ve recorded and edited is sent to either a hardware or virtual mixing console, and the resulting stereo mix is then recorded or saved as an audio file in a process called bounce to disk.
In mixing, after each individual musical part has been recorded to its own track, we have the ability to control each one separately. It’s here that we craft and polish the sound of our final product.
Read: Mixing Music: What is Sound Mixing?
Elements of Mixing
- Volume: Faders control the levels of individual tracks.
- Panning: Controls placement of each track in the left-right stereo image.
- Equalization: The character of the sound recorded on each track can be adjusted using specialized types of tone controls called equalizers.
- Effects: Effects such as compression, chorus, flanging, and delay further alter the recorded sound of a performance. These types of effects often change the basic character of a recorded performance.
- Reverb: Individual tracks can be placed in a simulated acoustic space.
Most of these functions are familiar to musicians. Certainly, many guitar, bass, and keyboard players already have pedals, stomp boxes, and settings that give them this type of control in performance. With a DAW you can certainly add effects onto a clean sound in post-production, but if you (or the players you’re recording) have gotten used to their own pedals as part of their sound, you might want to consider taking a few passes on the parts with effects; some clean and some with the effects.
Popular Pedals and Stomp Boxes
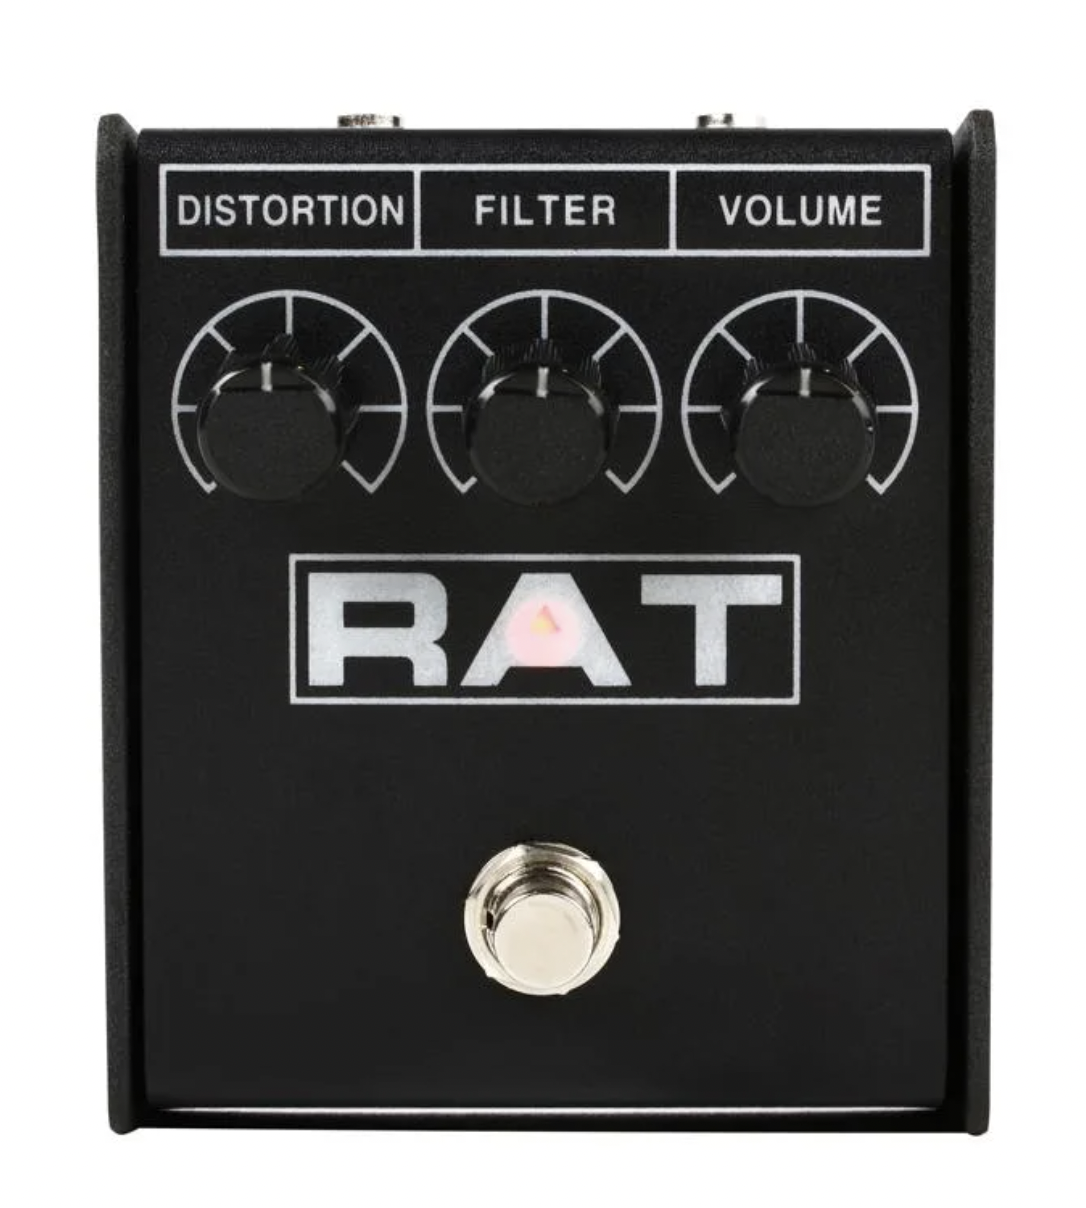
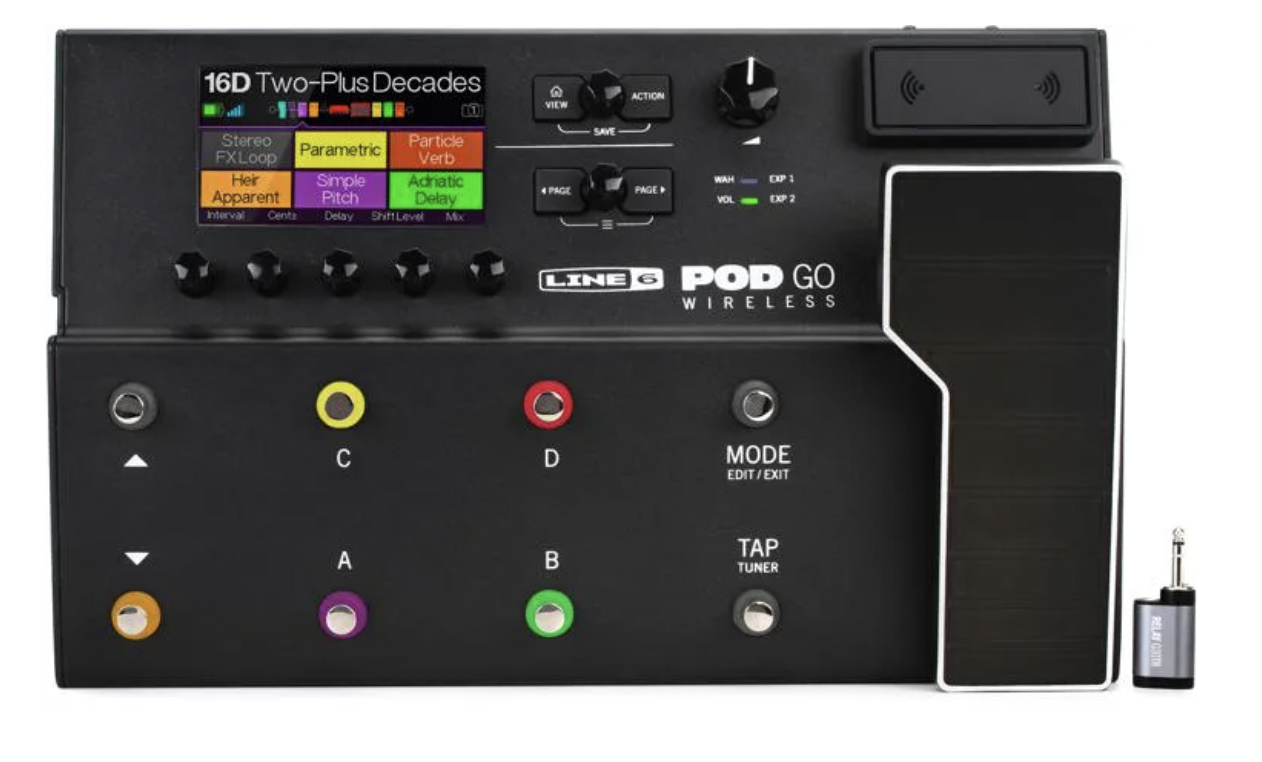
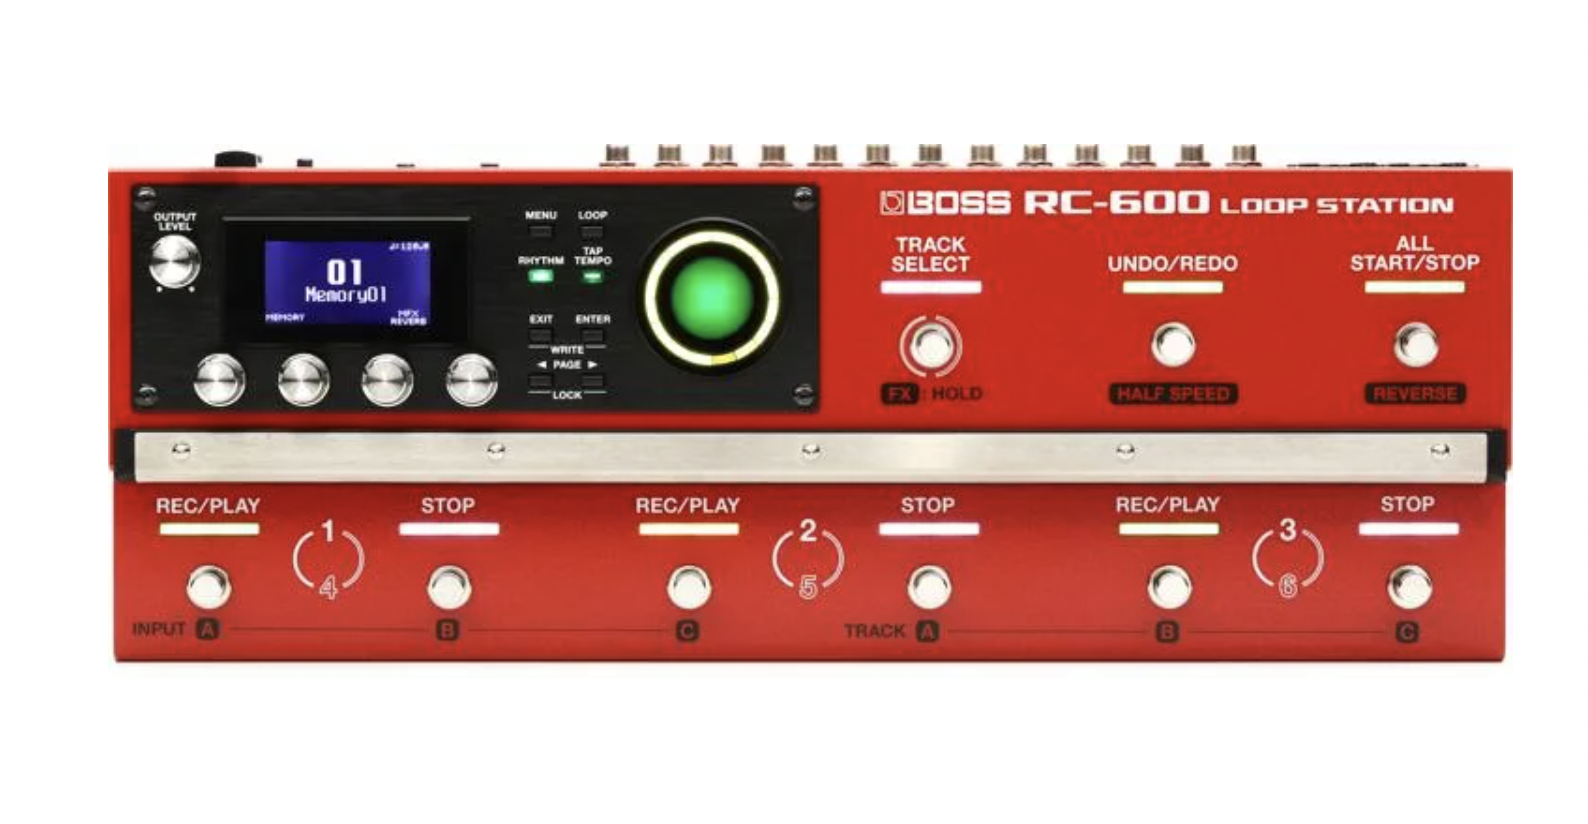
Read: Guitar Pedals: Why Do We Keep Buying Them?
The Tools
Let’s examine the tools used in the electronic music production process. We’ll begin with the most important components of a personal home studio; those that get sound in and out of the computer. The computer is the central part of any contemporary home studio, and at some point in the production process all audio signals pass through the computer. Audio and MIDI signals are processed as binary data inside the computer, but we have to first get signals into the computer. We’ll also need to be able to listen to the sound throughout the process, so we need to get the data back out into the physical world.
Audio Interfaces
The primary connection between the computer and the physical world is the audio interface. This is a device that usually contains two primary components:
- an analog-to-digital converter, where electrical signals such as those coming from a microphone or electric guitar are converted into streams of numbers that represent the original analog electrical signal
- a digital-to-analog converter, where the digital number stream is converted back to an electrical signal that may then be sent to an amplified monitor system
The number of inputs and outputs of an audio interface may vary, as can the types of connectors used. Audio interfaces may also provide microphone preamps to boost the incoming signals from the mic to a level appropriate for the converters. Some audio interfaces have built-in digital signal processing (DSP) chips to offload some complex audio processing algorithms from the computer’s internal processors. This can give you added horsepower for large complicated mixes, as well as provide lower latency—the time between when the signal enters the interface, travels through the computer hardware and software, and then returns back to the outputs.
These audio interfaces usually connect to the computer via USB 2, USB 3, or Thunderbolt/USB-C, the most common high-speed digital connections available on computers today. Some interfaces get their power from these connections as well as use them to send audio between the interface and the computer, but others require dedicated power sources to operate.
Since these devices are the critical path to getting audio in and out of your computer, you should pick the best-quality audio interface possible within your budget. If the sound isn’t good quality when it enters the computer, no amount of processing will make it better. And since what comes out of the speakers is only as good as what goes into them, the audio interface is a key component of your home studio. Let’s take a look at some current audio interfaces along with information about connectivity.
USB Audio Interfaces
A USB is a very common way to connect a variety of peripherals to a computing device. USB 2 provides 480 megabits per second transfer rates between devices, fast enough for multichannel audio to travel between the computer and interface with very little delay time (latency). USB 3 provides up to 5 gigabits per second, and the more recent USB 3.1 and USB 3.2 variations provide 10 and 20 gigabits per second respectively over a USB type C connector. It is generally used now for data transfer between storage devices and the computer, but it is also excellent for real-time audio data between an audio interface and computer.
Some USB interfaces include five-pin MIDI connections and serve as both an audio and MIDI interface.
Let’s look at some common USB audio interfaces.
This is a single-input, bus-powered audio interface using USB 2 connectivity that can connect to a computer and an iPad.
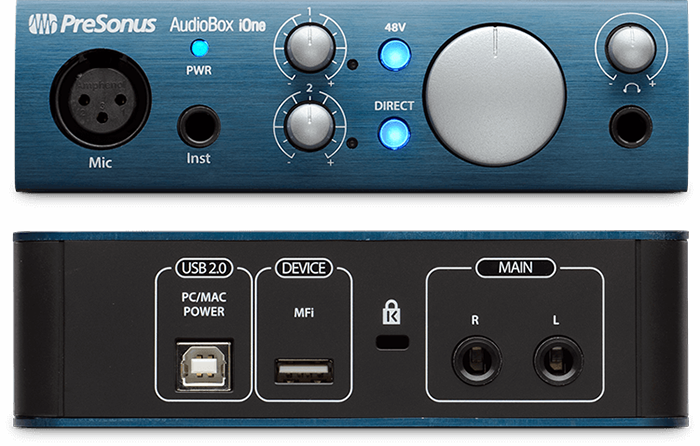
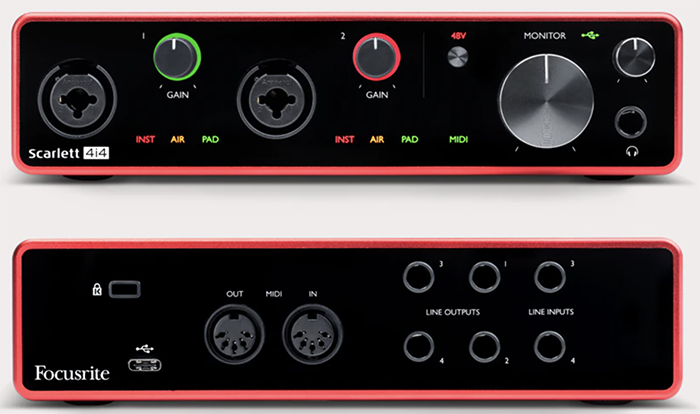
This is a two-input, four-output, bus-powered audio interface capable of high sample rates using USB 2 connectivity and a USB-C connector. This interface also includes pin-pin MIDI connectivity.
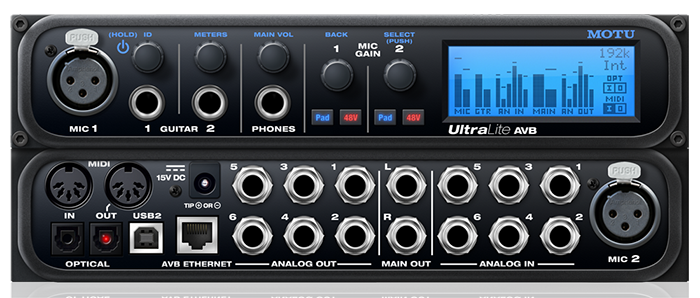
This USB-2 interface includes both analog and digital audio connections, five-pin MIDI connections and an external power supply.
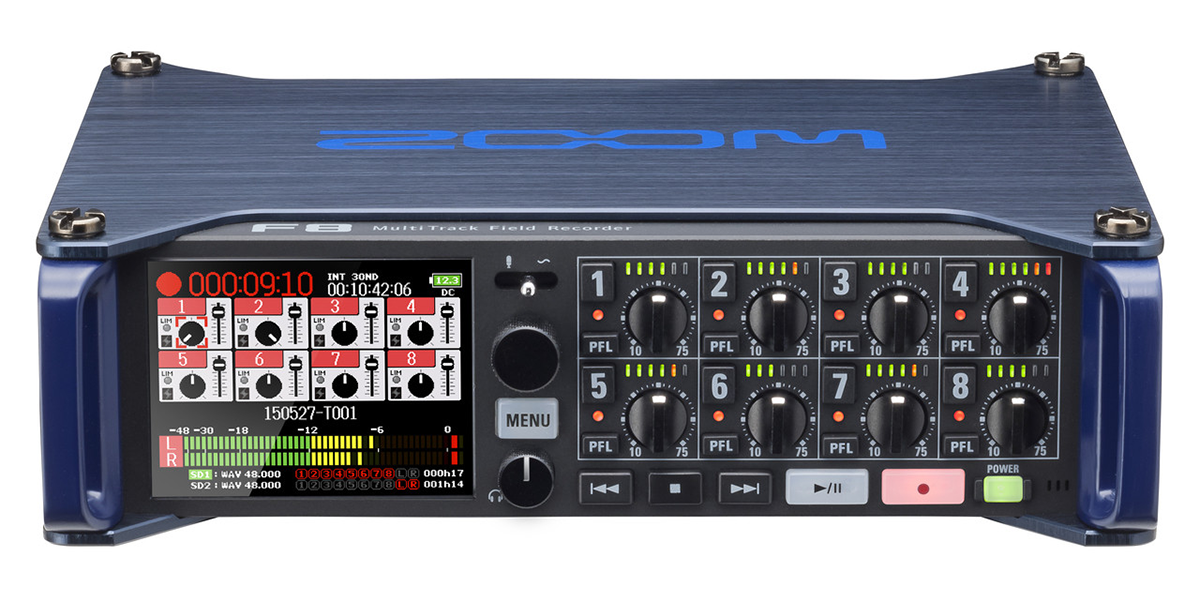
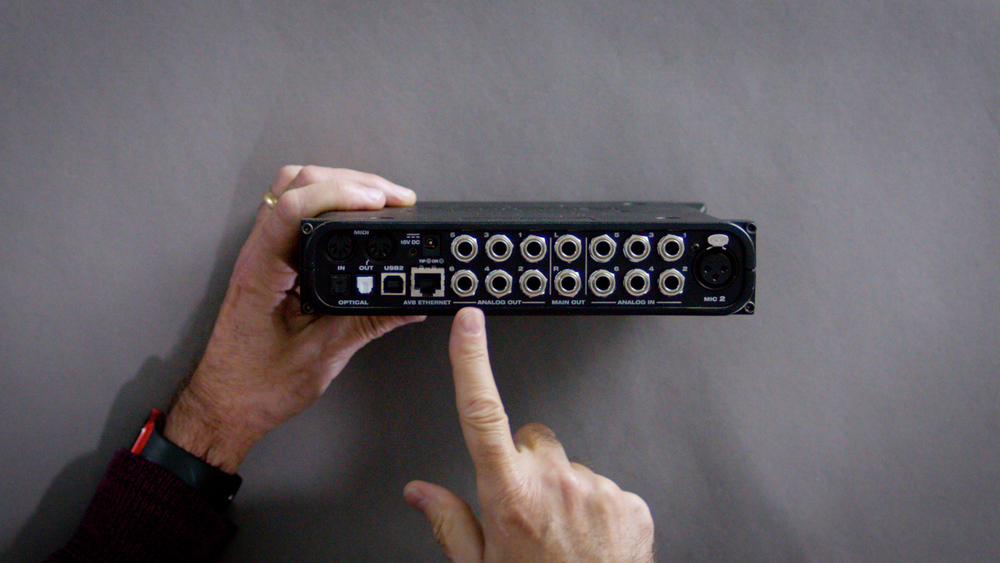
Thunderbolt Audio Interfaces
Thunderbolt is an interface designed by Intel that supersedes many former bus architectures and provides very high-speed connections of up to 40 gigabits per second. It is very well suited for multichannel digital audio transfers. Thunderbolt 2 uses its own type of connector, while Thunderbolt 3 uses the standard USB-C connector.
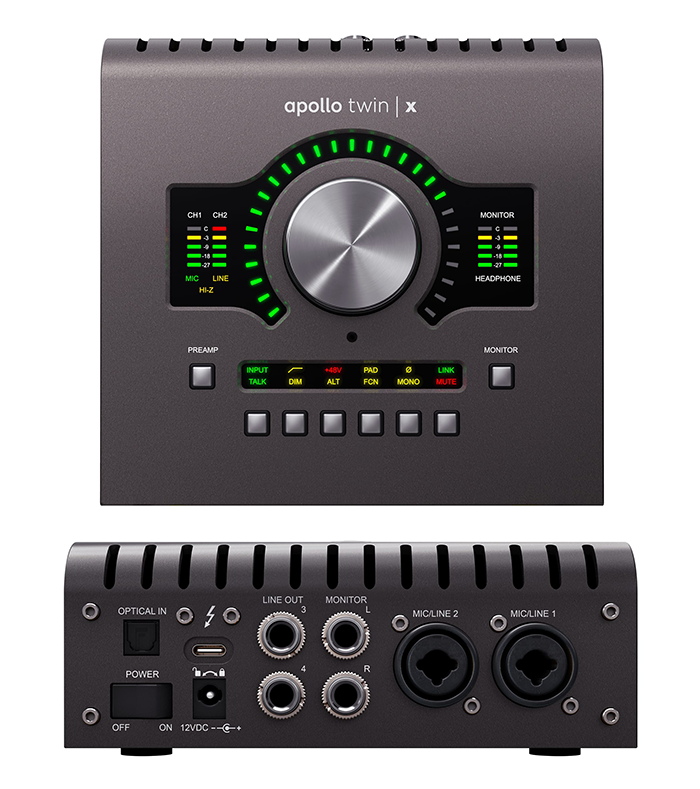
The Apollo series of interfaces from Universal Audio provide between two and 16 channels of audio, depending on the model, as well as built-in digital signal processing (DSP) chips for real-time audio processing with very low latency.
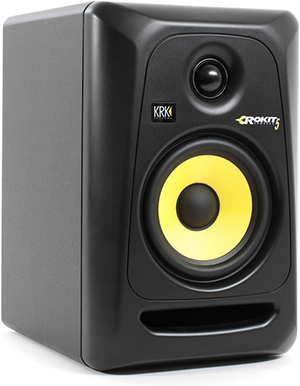
Monitor Speakers
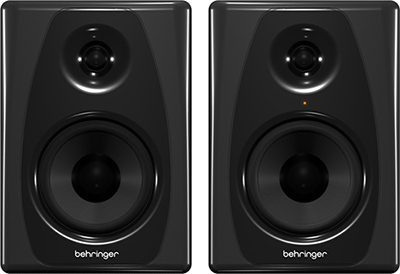
The next most critical devices in your home studio are the speakers you use to monitor the sound throughout the process. You will spend a lot of time listening to these, and your final product will be shaped by the sound of your speakers, so choose monitors carefully—always listen before you buy! Speakers vary greatly in size and construction, and should be matched to the size of the physical space you have for your home studio. Huge monitors will overpower a home studio, but small speakers may not fill a larger space. The key is to get the right size for your home studio, and then to place them properly. Today, it is very common to use monitors that contain both the amplifier and speaker systems, rather than having separate components.
Here are some commonly used monitors for a home studio.
Read: How to Set Up Multiple Studio Monitors
Microphones
If you will be recording live instruments or voice in your musical productions, you will also need microphones (and mic preamps if they are not included in your chosen audio interface). Microphones vary greatly in type and cost, and should be chosen for the kinds of recording situations you have. Different acoustic instruments require different types of microphones, as well as different mic placement. There is a huge art to the choice of microphone and placement, and this is beyond the scope of this course. In fact, Berklee Online offers several courses that address microphones specifically, including Microphone Techniques and Vocal Production for Singers.
Here are a few additional microphone resources:
- The 13 Best Vocal Microphones of 2023
- A Beginner’s Guide to Recording Vocals at Home
- Studio Microphone Buying Guide
- Microphone Choice and Placement Secrets for Recording
- SOS Guide to Choosing & Using Studio Microphones
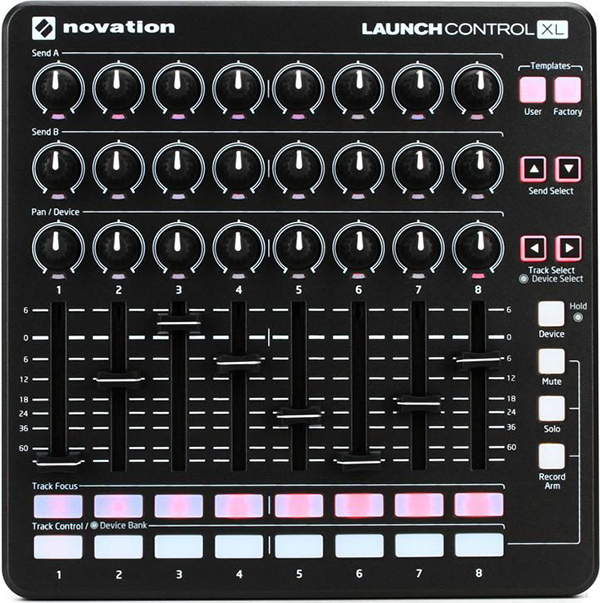
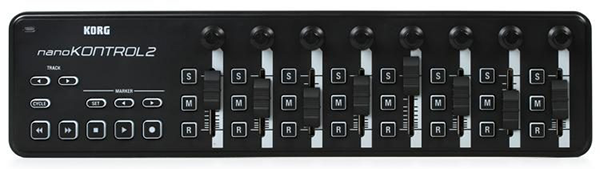
Controllers
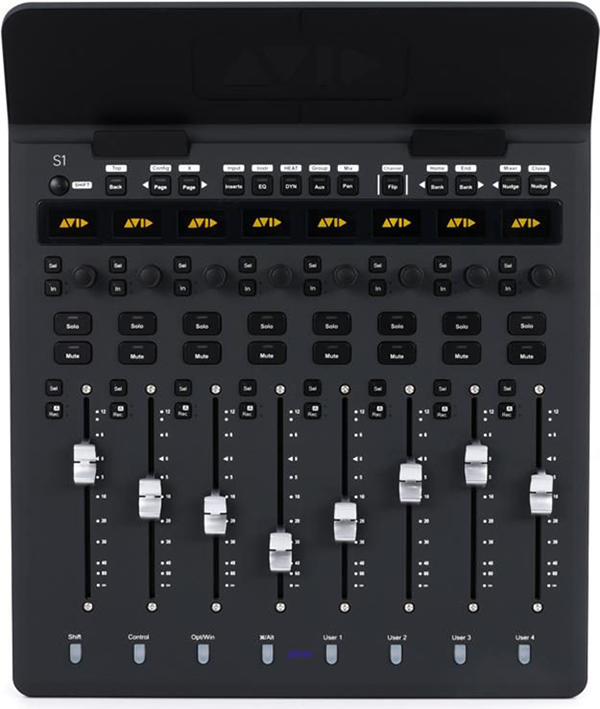
Once you have your music stored in the DAW and you start the mixing process, you may want to be able to control the levels of multiple tracks independently at once, which is difficult with a computer mouse. Today, many producers use control surfaces for this, either via software on touchscreen devices such as tablet computers, or via actual physical devices with multiple faders and knobs that send signals, usually over MIDI, to control on-screen controls of a mixer. Some of these—like the Avid S1 mix controller, which serves as a dedicated controller for Pro Tools—are designed to work with a particular DAW. Most however, are generic controllers that can be used for a variety of production and performance tasks.
Read: Buying a MIDI Controller? Here’s What to Know
While keyboard controllers are very useful for MIDI sequencing, electronic music producers, especially those who perform live, use grid controllers to play back samples and sample loops in addition to musical notes. This way of working has evolved from the original AKAI 2000 used by many hip-hop producers to produce beats and continues with AKAI’s current line of MPC samplers. While the MPC instruments from AKAI are self-contained, playing back samples from an on-board sampler, this way of working has become a common way to produce using samplers in a DAW. We are now seeing MIDI controllers that are grids that can be used in a variety of ways, from triggering samples to playing MIDI notes.
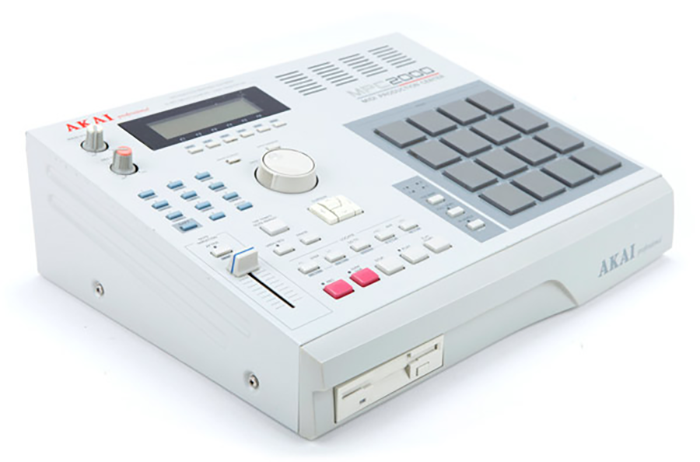
The Original MPC 2000, Released in 1997
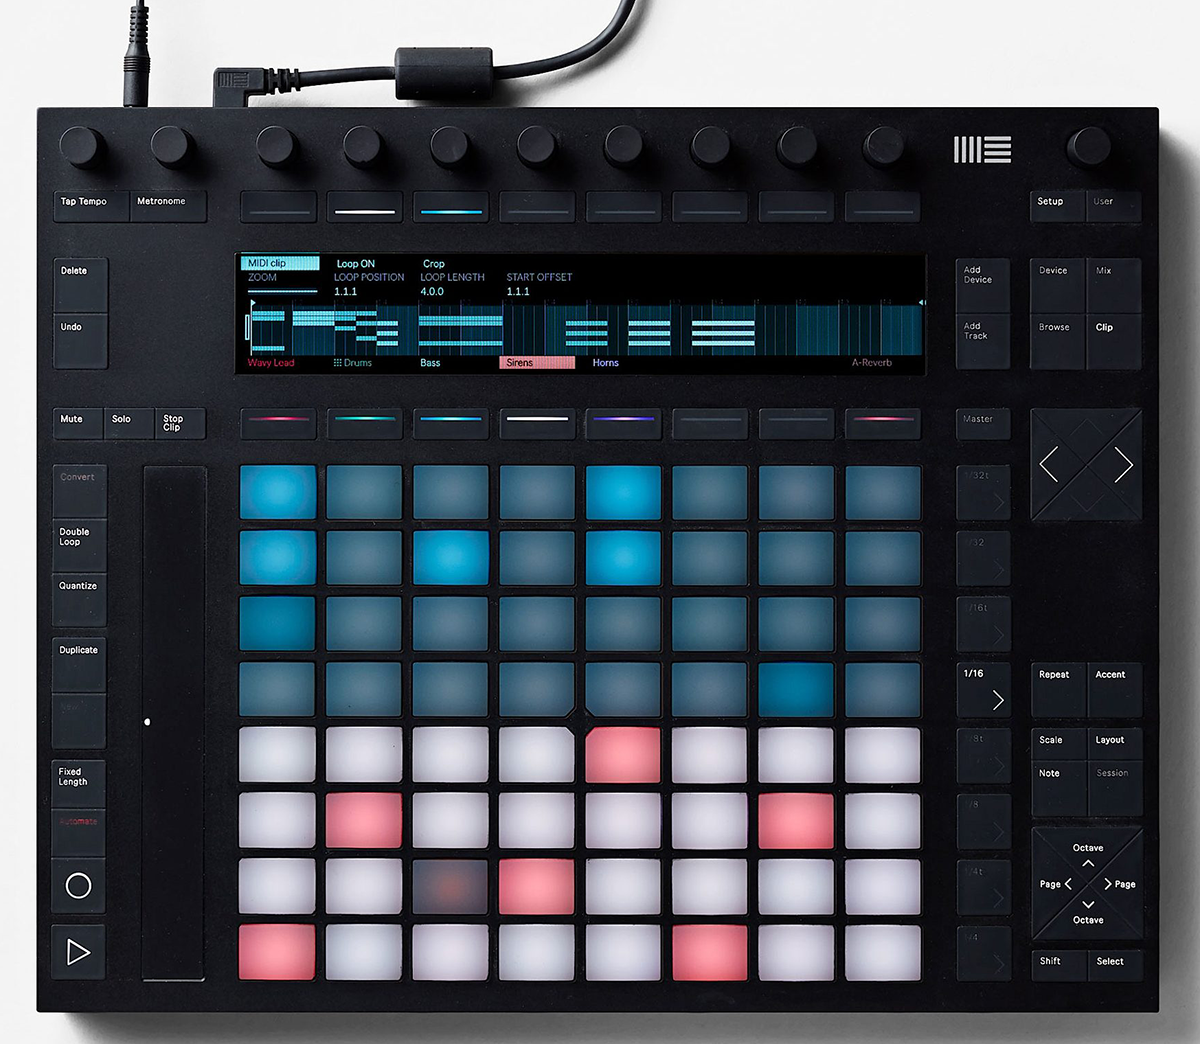
Ableton Push
Although the computer is really the central part of any production environment, the popularity of various types of controllers shows that producers would like more tactile control of music production and performance. In response to this, Ableton developed the Push controller that is tightly integrated with all aspects of working with Live. With Push 2 it’s possible to produce a piece of music without needing to look at the computer. The grid layout allows users to play notes and drum parts, and the LCD display, along with the knobs at the top of the unit allow users to make adjustments to just about all aspects of the synthesizers and effects in Live.
Get Started
Now that you know some facts about the equipment you need to get started in setting up a home studio, you’re halfway there. Why only halfway? Because to really learn you need to just start doing. You need to experiment with your equipment and your processes to figure out what works best for you as a music producer, to get the best sounds out of your instruments and the instruments of whoever you may be recording. Be prepared for frustration and exhilaration as you work towards your goals through these experiments.
Producing music is not a spectator sport, and for each lesson in the 12-week version of this Berklee Online course we’ll have projects for you to complete that will get you working with the topics presented to get even more hands-on experience. Because with experiments comes experience.


 She Needed to Produce Music")