


Do you think you’re set with one pair of professional studio monitors? If so, think again. Most home-studio owners purchase one good pair of powered reference monitors and that’s it. However, to truly hear how your music will translate to the outside world, the real world beyond the four walls of your comfy studio, you should be working on at least two sets of speakers: your main near-field monitors and a set of small, inexpensive desktop computer speakers (minimonitors). This dual monitor approach will let you hear how most listeners will be hearing your tracks—over a cheap home stereo system, a television, or computer speakers—instead of the precise, accurate, and “flat” sound of your pricey studio reference monitors.
TAKE A BERKLEE ONLINE COURSE WITH ERIK HAWK!
Add an Analog Monitor Control Box
Of course, chances are that your audio interface only has one set of monitor outputs (a pretty standard design). This begs the question, “Where do I connect another set of speakers?” The solution is to add an analog monitor control box to your system. The stereo mix coming out of your audio interface’s monitor output is then connected to this box and split (multiplied) into several monitor output paths, each of which can be sent to its own monitor destination (including headphones).
Two of the most popular solutions on the market are the PreSonus Monitor Station and the Mackie Big Knob (both units are about $300). Each of these units is designed to sit on your desktop and provide ergonomic monitor control, making it easy to switch between monitors while you’re mixing without losing your “sweet spot” (the listening position between your monitors that sounds the best).
Near-Field Monitoring
The point of near-field monitoring is to remove as much room coloration from your listening position as possible. Though it’s no less important to tune your room for better acoustics (a topic for another blog), a proper near-field setup can reduce much of the room tone that you would normally hear if you were seated farther away from your monitors, outside the sweet spot.
Today, most well-designed studio reference monitors feature frequency fine-tune controls for tailoring a speaker’s response to best fit your listening environment. For example, to compensate for a room that adversely emphasizes low frequencies, you could roll off your monitor’s low-frequency response by a couple of dB. Foam speaker-isolation wedges (such as the Auralex MoPAD), or the more advanced isolation stands by IsoAcoustic, are also an option and allow a monitor to be decoupled from what it sits on, preventing the speaker from transferring sound to the surface in a way that might adversely affect what you hear.
Choosing the Right Speakers
Now, for the speakers. Keep in mind that the size of the low-frequency drivers (the woofers) determines your monitors’ low-frequency output. The larger the woofer, the more bass you’ll hear in your mix. Consequently, you should stick with a 6-inch woofer or larger for your main monitors. In my opinion, the best enclosure-size-to-bass-output ratio for your dollar comes from monitors with 8-inch woofers (such as the Mackie HR824 or Focal Alpha 80).
Of course, you can add a subwoofer to augment monitors with small woofers, but for most music-production applications, having the bass in your face is preferable to having it under your seat or to the side of your workspace. By comparison, your minimonitors should have a 3- to 4-inch woofer (such as the Alesis M1 Active 320 or Avantone Pro Active MixCubes). And, for the sake of quality and convenience, the minimonitors should be self-powered, just like your main monitors.
Monitor Placement
Speaker setup is crucial for good monitoring. For the best near-field monitoring possible, make sure that your speakers are upright and level with your head. When seated in the sweet spot between your speakers, your head and the two speakers should comprise the three points of an equilateral triangle. You can place the minimonitors just to the inside of your main monitors.
Make sure that the speakers are as far away as possible from any walls to avoid potential low-frequency interaction with your room’s physical structure. Pushing your speakers against the wall or shoving them in a corner is never a good idea. Remove any impediments that might interfere with a clear line of sound from the speakers to your ears (such as plastic figurines and stuffed animals—really, I’ve seen it done). And, watch out for possible reflective surfaces just beneath the monitors (such as a large mixer or laminated tabletop) that may cause high-frequency reflections to bounce off and sully your sweet spot.
Enjoy Real-World Sound
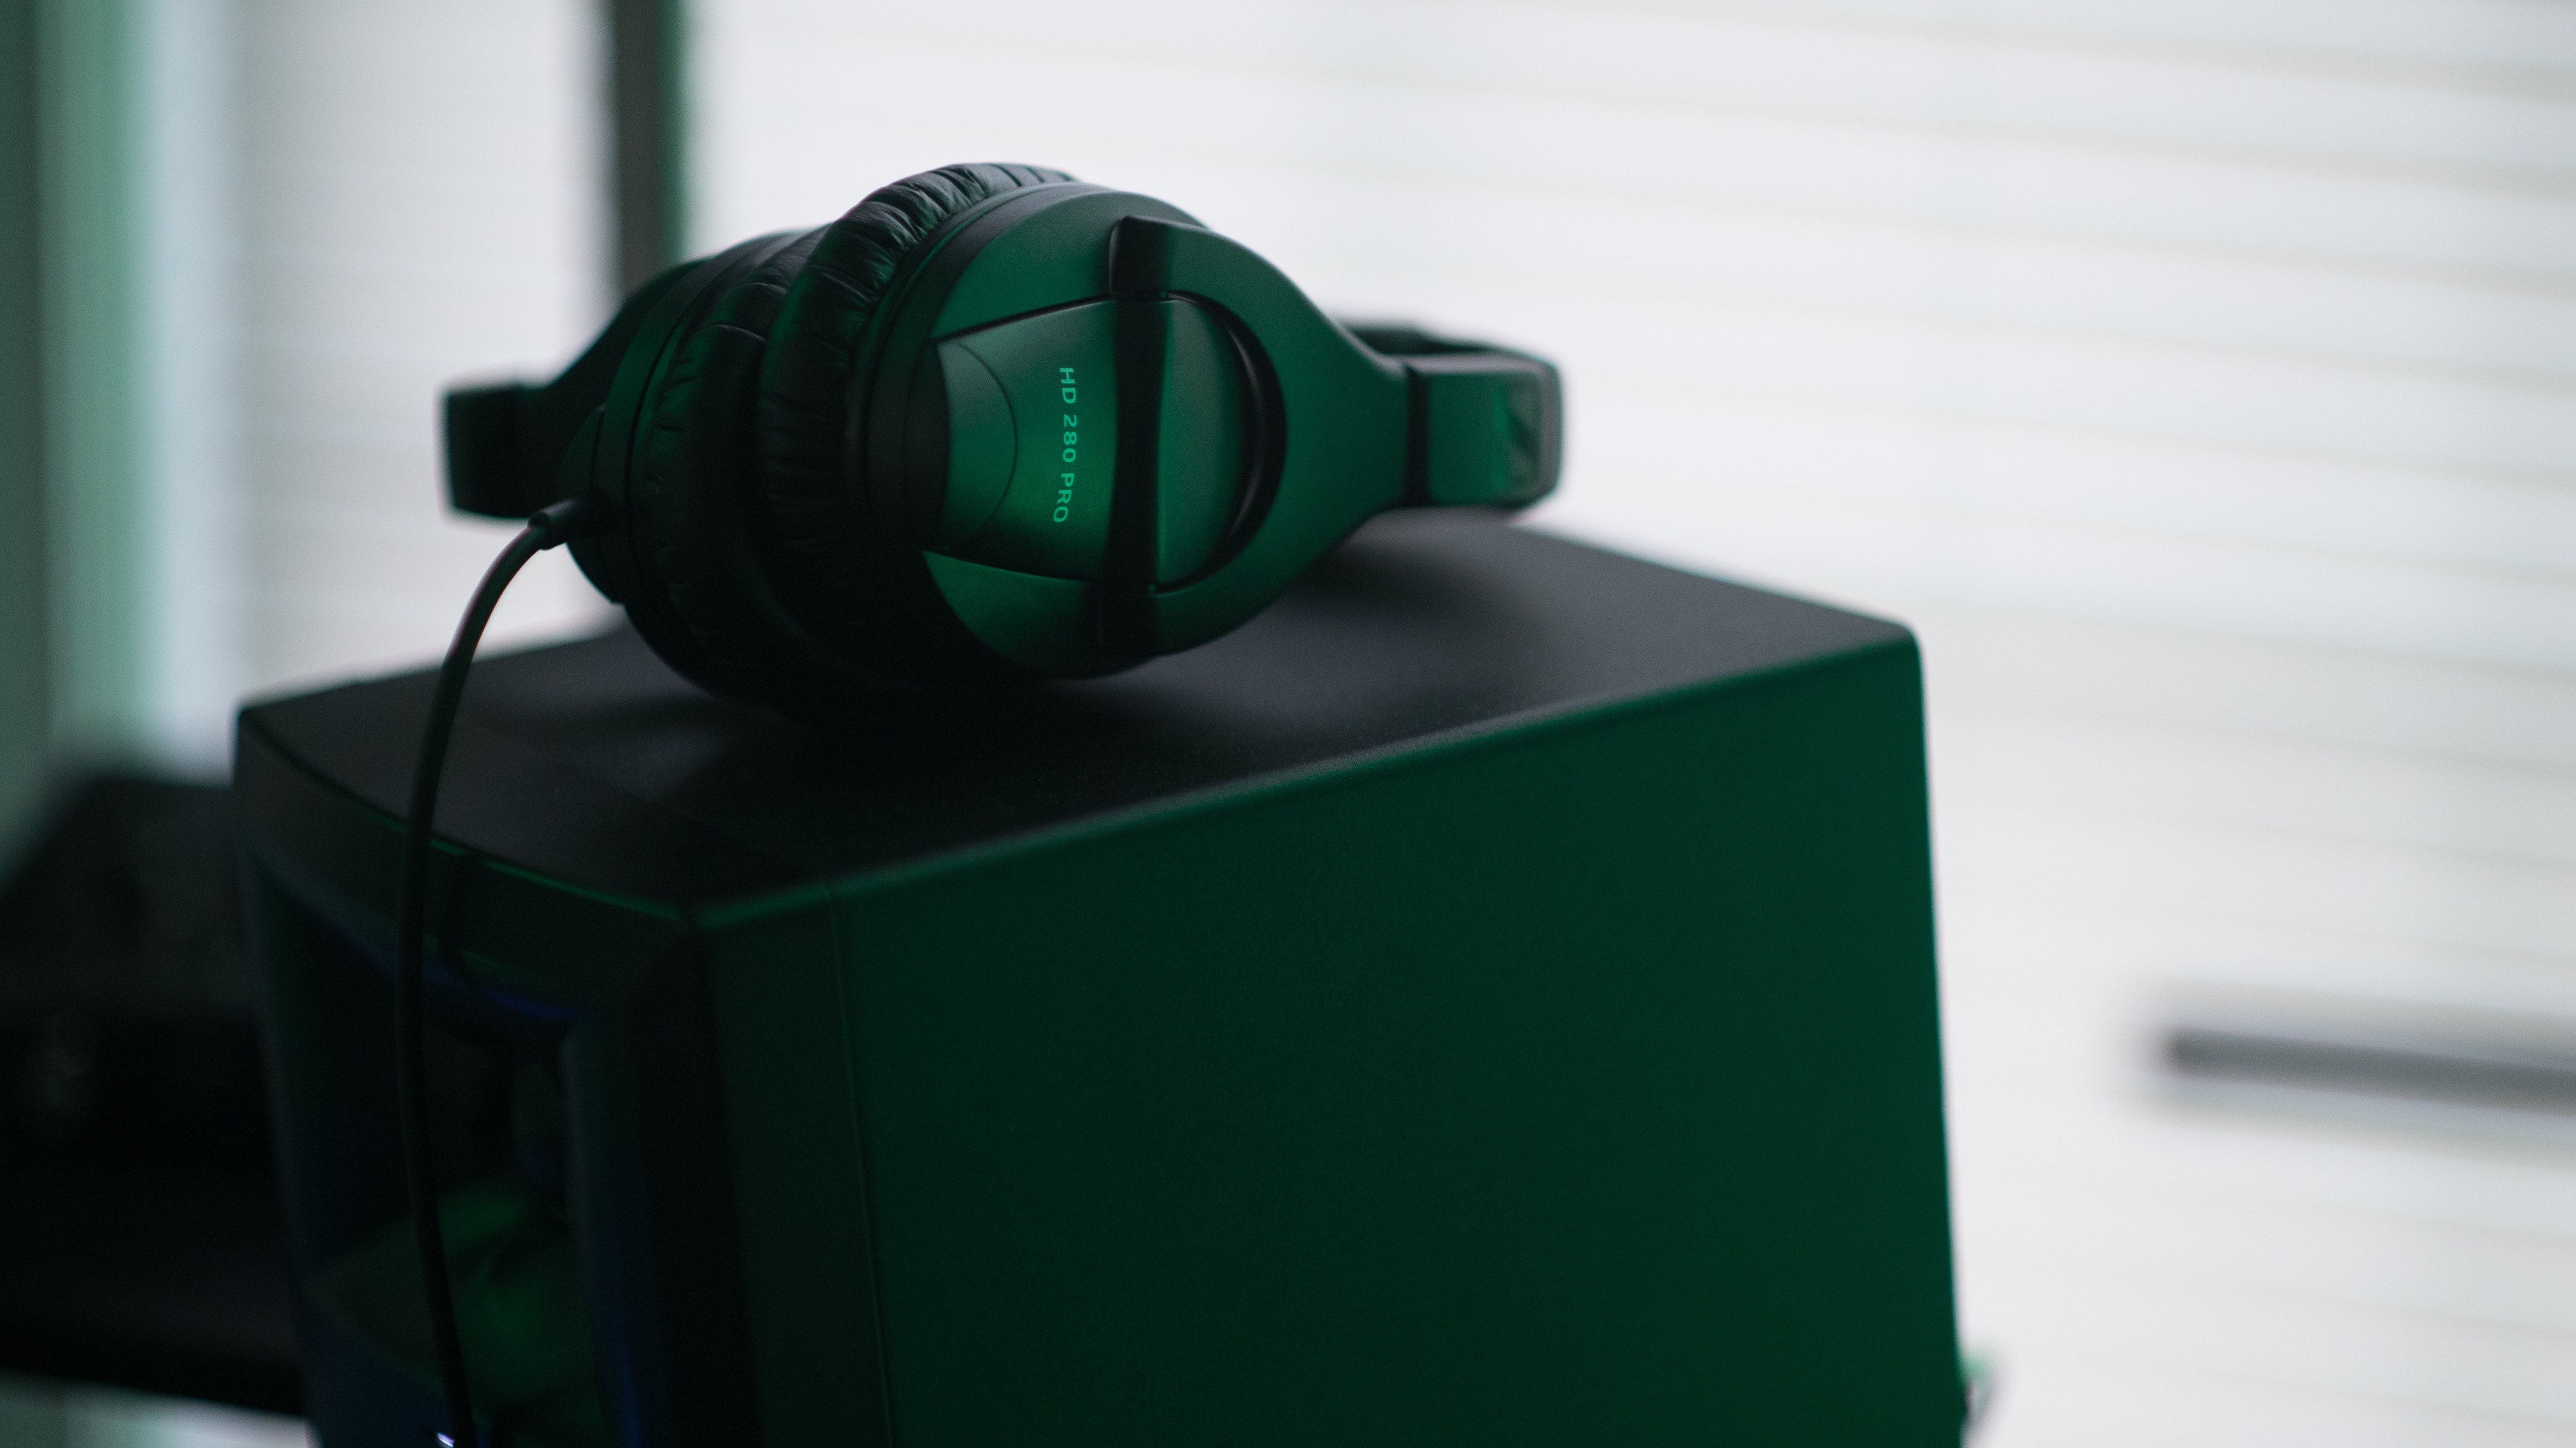
Between your main monitors, a pair of minimonitors, and a studio-quality pair of headphones (such as the Sony MDR-7509), you can construct a clear picture of how your mix will sound in the real world without ever leaving your studio. Plus, with a good monitor controller you’ll never need to move from your sweet spot to switch monitors. Now, with all of this control at your fingertips, the only trick is to remember to get up and use the restroom every so often. Though, seriously, if that’s not inspiration enough, many an award-winning mix engineer has been known to walk outside the studio, and down the hall, in order to hear how their mix sounds from a completely different perspective—for real, it really does work.
STUDY MUSIC PRODUCTION AT BERKLEE ONLINE


 She Needed to Produce Music")